Why update the firmware !
My answer here is a bit unconventional, and certainly not a fact.. I even think I am wrong, but it can’t hurt, so here it goes
Seagate recommends you update the disk’s firmware to improve performance and longevity of the hard drive, I on the other hand have an extra mission…
The firmware on a hard drive is stored partially on a chip on the PCB, and partially on the disk itself ! I know that disk platters have a data retention life of 10 years, the area where the firmware is written is never refreshed since it is read only when the disk boots up, So i am hoping (even though doubtful) that the firmware update might re-write this area of the disk and breath new life into it.
A disk certain application claims to refresh the data on that area of the disk, After testing that application I will come here and add my findings accordingly
Getting the firmware
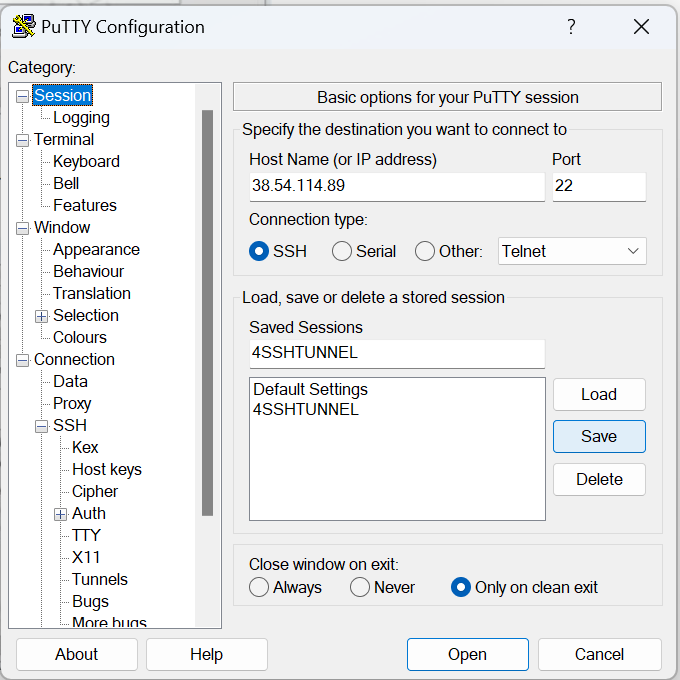
Let us start by downloading the firmware ! To download firmware from seagate’s website, you will need to know your hard drive serial number, to do just that, open the command prompt elevated, and run the following command
wmic diskdrive get model,serialnumber
The result of me running that command is as follows
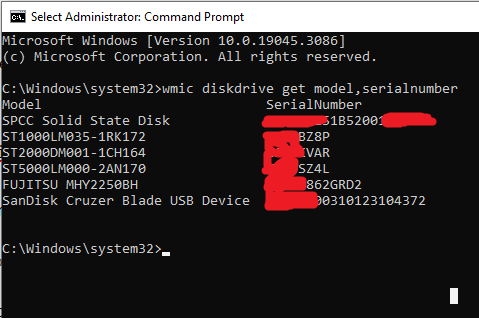
The results of executing the command above show that I have a hard drive of the model (ST2000DM001-1CH164) as you can see with a serial number that I now have (Masking serial numbers just in case seagate has a problem with me publishing them as it allows you to download the firmware using the serial number)…..
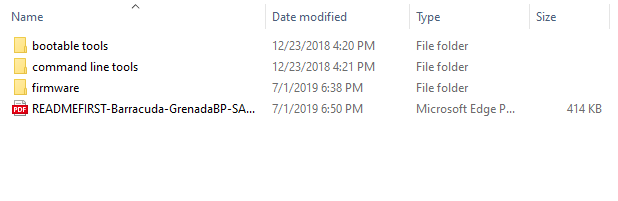
Now that I have the serial number, I can go to seagate’s firmware download page here and grab the firmware… once done, I unzip it, and the following folders appear
Creating a bootable USB flash disk
Now, inside the Bootable tools, there is a file (SeaChest_RC_2.7.4_10-18-2018.usbBootMaker.exe) that will create a bootable flash stick for you, insert a flash stick of any size that is to be deleted by this application, run the application, and now you have a bootable drive, but without the firmware, so copy the firmware folder you see above into the flash stick, and now you are ready to boot from it, for instructions how to boot from a flash stick, you will need to check with your motherboard’s manufacturer documentation, it is usually a simple thing such as hitting F11 at boot time.
Updating the firmware
Once booted, you should be presented with a linux command prompt, where we can run commands to update the firmware
To see what disks are on your system, run the following command
SeaChest_Firmware --scan
The scan should give you the handle for the drive, if you have never used linux before, the handle started with /dev/ (Short for device), and sata disks usually start with sdX (Where X starts with A and ends with a letter corresponding to the last disk you have in your system) old PATA disks usually start with hdX… but that is usually not something you need as PATA disks are virtually non existent at this stage
Now, execute the firmware update command like so
SeaChest_Firmware -d /dev/sg3 --downloadFW /firmware/filename.LOD
Now, if you want to know whether the update was successful or not, just run the scan command again, and note the firmware on it !
My Problem !
As you can see from the image below, I have 3 firmware files, named 1TB, 2TB, and 3TB, when i ran the command above, The system claimed that the update was successful, but didn’t really update the firmware, I was still stuck with 26 rather than 29 !
So i decided to use Seagates own configuration file to do the update with the command
SeaChest_Firmware -d /dev/sg3 --fwdlConfig GPCC2949.CFS
Surprise was that I got the following error
model matched but the current firmware version does not match the available updates
So, I went back in time and remembered that for this particular disk, I had changed the PCB before (Trying to get a 3TB disk to work by moving a certain chip from one board to the other, diagnosis turned out the problem is not the PCB)… So instead of flashing the 2TB firmware file, I flashed the 3TB, and what do you know, It worked.
Anyway, I will come back with screenshots of the whole thing… and more data for those who are having trouble updating their firmware, until then, hang in there